Submission
Overview
This page describes the Sign Up submission process to create a new client account after the user has completed the sign up form. The information on this page will apply to all brands, for anything region specific see the below:
The submission process consists of the following 4 steps:
- Set a loading state to the final sign up page
- Verify all fields have been successfully validated
- Map the form details and submit them to the create client API
- Map the API response to the appropriate user interface
Integrations
Inputs
User Input: Client Details
- The client details entered by the user in the sign up form.
OAuth Token Exchange
- A one-time auto-login token returned from the create client API is used to login the user automatically.
Outputs
REST: POST /client/Create
- This is the endpoint to which the user's details are sent to create a new account.
The required parameters for this endpoint differs between regions, for more information see AU Outputs or NZ Outputs
Json Response
HTTP 200
{
  "client": {
    "id": "string"
  },
  "auto_login_token": "string"
}
This response leads to a successful outcome where the client account has been created.
HTTP 500
{
  "id": "string",
  "code": number,
  "detail": "string",
  "status": "string"
}
This response type leads to the following error scenarios:
- self_excluded: Error detail includes "self excluded".
- betstop_excluded: Error detail includes "betstop_self_excluded".
- user_already_exists: Error detail includes "USER_ALREADY_EXISTS".
- Generic error: Any other error as described by the error detail if it exists.
RN: AuthenticationTokenBridge
- Successfully logging in will pass data across the AuthenticationTokenBridge so that RN screens display their logged in state.
Submission steps
As mentioned before, the submission process consists of 4 steps. Here is the description of each one:
Loading state of final page
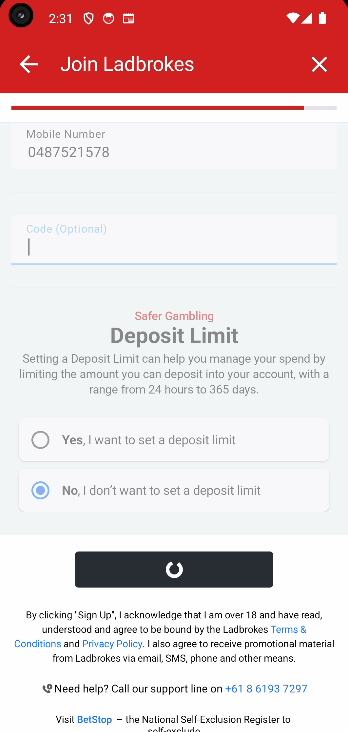
Once the user has completed the entire sign up form and the "Submit"/"Continue" button is clicked, the final page of the sign up form goes into a loading state as described in sign up form - Loading State. This state is maintained until the end of the submission process.
Verify all fields have been successfully validated
The next step is to verify all the information the user has entered on the final page is valid. At this stage, information on previous pages has already been validated when navigating away from them, so there is no need to validate it again. [Note: iOS does validate the entire form again.] The logic to validate the information entered is described in sign up form - Validation Overview. When all fields have been verified to have a Valid status, then proceed with mapping and submission.
Map the form details and submit them to the create client API
Once all the fields have been validated, map the entered information into a json request as described above and submit it to the create client API.
Map the API response to the appropriate user interface
Mapping the create client response into a user interface is possibly the biggest regional difference when it comes to form submission. For details on how each region handles this, see AU Create Client UI Mapping or NZ Create Client UI Mapping
Troubleshooting
Create Client Errors
Given all fields are validated before submission, there is little room for error. In the event that an unexpected error is returned from the create client API the user will be shown the generic/unknown error dialog. The details of the error will be logged locally.